Teach the Particle Photon to Text In 5 Minutes
Have an Internet of Things project idea that needs text capabilities? Let me show you have easy it is to teach your Particle Photon how to text. In fact it's so easy it only takes a few minutes.
What's a Particle Photon?
If you already know what a Particle Photon is you can skip this section. If not, you haven't lived yet as an IoT maker. For $19 you get a small IoT platform complete with built-in WiFi. On top of that you get free access to the Particle Cloud which gives you over-the-air updates, an online IDE, and a way to send data to the cloud out of the box with a single line of code. The folks at Particle have really done an amazing job polishing the end to end experience from device to cloud. The Photon is programmed in C or C++ and even supports the standard Wiring programming model made popular by the Arduino ecosystem. In fact, many times you can simply copy Arduino sketches and with a few minor changes be up and running on the Particle Photon.
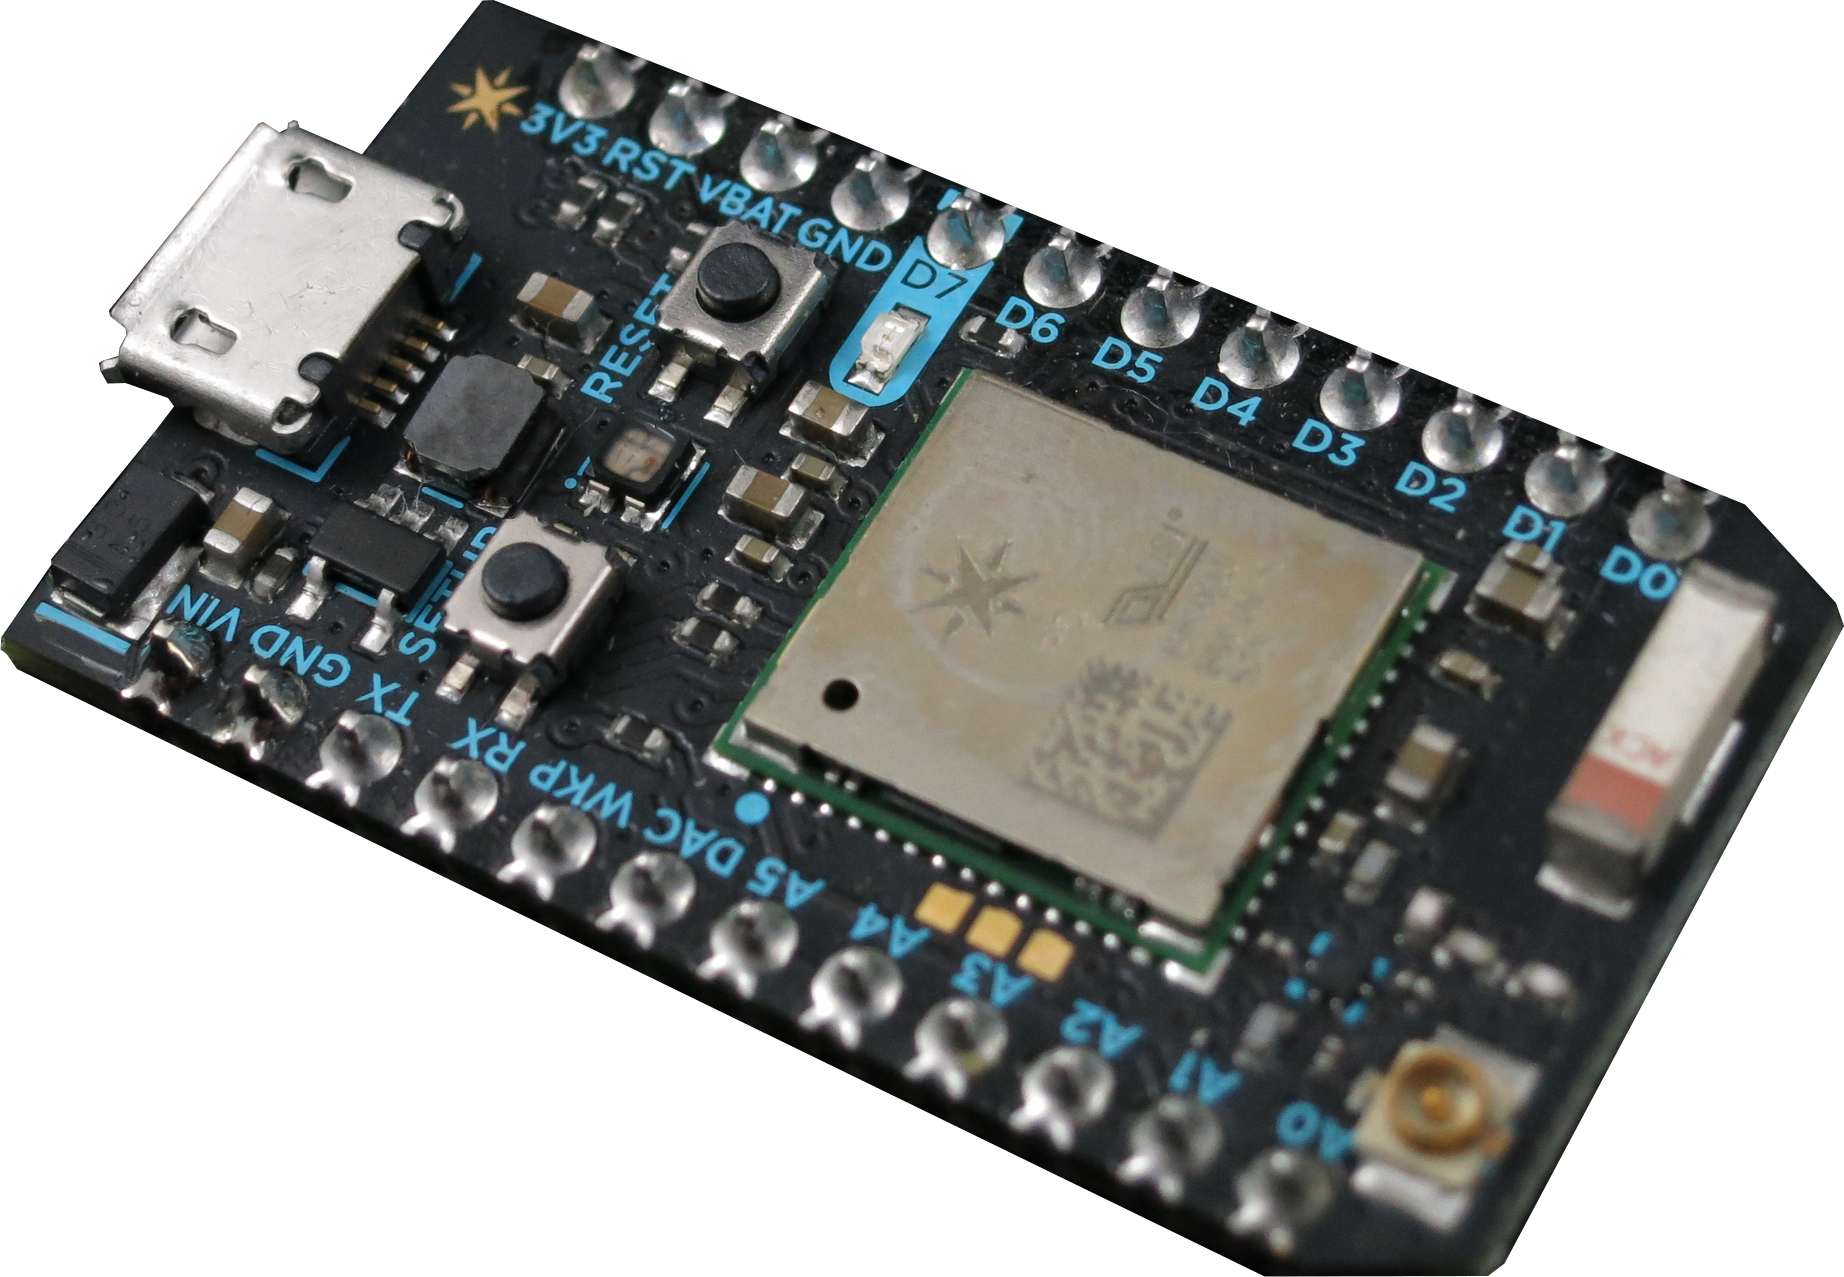
If this is your first project with a Photon you might not quite make it under the 5 minute time frame as you'll need to install the Particle CLI and setup your Particle account and claim your Photon. Even then, if you're quick, you could probably still be very close to the 5 minute target.
Step 1: Publish an Event
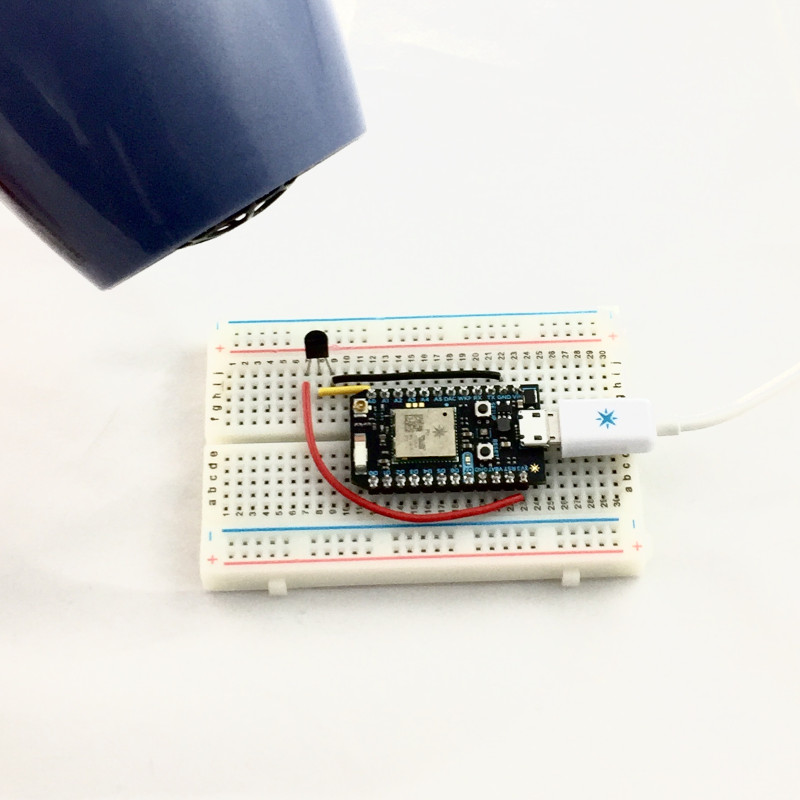
For our example we're going to build off of a simple temperature monitoring project I put together to monitor my fictional server room. I created the device by attaching a TMP36 sensor to a Particle Photon as seen in the following diagram.
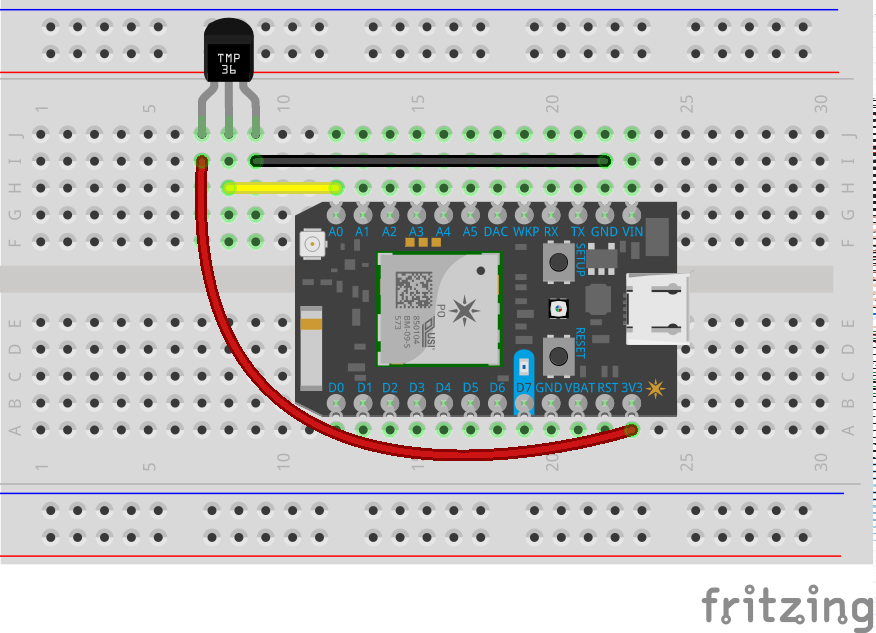
Our base code takes a reading from the sensor every few seconds and writes it to the USB virtual serial port.
void setup() {
  Serial.begin(9600);
}

void loop() {
  int val = analogRead(A0);
  float voltage = val * 3.3 / 4096; // Convert analog reading to voltage value
  float tempC = (voltage - 0.5) * 100;
  float tempF = (tempC * 9.0 / 5.0) + 32.0;
  Serial.printlnf("Temp F: %3.1f  Temp C: %3.1f", tempF, tempC);
  delay(3000);
}
I guess we could stare at the serial output all day to keep track of the temperature but that doesn't sound very fun. It's not very practical either since all I really care about is whether my server room gets over 82 degrees Fahrenheit. According to ITWatchDogs I should "employ temperature monitoring systems, including high temperature alarms, to maintain optimal cooling and energy consumption." Who am I to argue with the watchdogs?
To initiate our high temperature alert we will publish an event to the Particle Cloud. This is all the code we need.
if(tempF > 82.0)
{
  String msg = "Device " + Particle.deviceID() + " is reading " + String(tempF) + " degrees";
  Particle.publish("server_room_too_hot", msg, 60, PRIVATE);
}
For the full source code see this gist.
The first argument to publish() is the name of the event. This can be anything you want and should describe the nature of the event. The second argument is any data you would like to send along with the event. It is a string and can be up to 255 characters long. In our example we are passing a string with our Photon device ID as well as the current temperature. The 3rd argument is a TTL (time to live) value and is not actually configurable and will always be 60 whether you pass 60 or not. The last argument can be PRIVATE or PUBLIC indicating whether you want the event to be published to all connected Particle devices or just to devices you own. No need to send it to everyone so we'll leave that as PRIVATE.
This is where the polish of the Particle ecosystem really shines through. We don't have to worry about establishing a connection to the cloud, formatting a protocol-level packet, or even handling the reception of the data in the cloud. It's all there, out of the box, with a single built-in function. You can use the Particle.publish() function anywhere in your code. With different sensors attached think of the possibilities. Get a text when your garden needs to be watered (moisture sensor) or when your teenager's car gets to school (GPS), or if the temperature gets too hot or cold like we're doing here.
Step 2: Setup a Twilio Account
If you don't have one yet it's time to set up a Twilio account. After signing up you'll need to verify your personal phone. I've never received a single piece of spam from Twilio by doing this so don't worry. Once you've signed up and verified your phone it's time to get your first Twilio phone number. Make sure your Twilio number has the SMS capability.
At this point your Twilio account is set up and ready to go. Head over to the console and grab your Account SID and Auth Token. You'll need both for the next step.
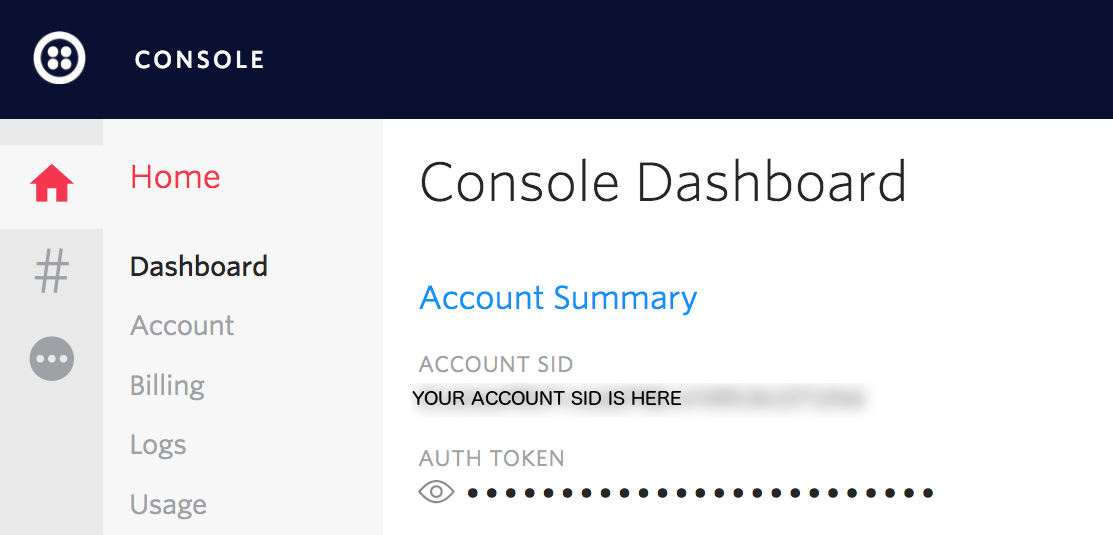
Step 3: Create a Particle Webhook Now that you have your Photon publishing an event and your Twilio account setup you need a way to tie them together. Enter Particle Webhooks. The webhook is the glue between the Particle device and the Twilio API. Webhooks allow you to call any third party URL based on a specific event the webhook subscribes to. There are multiple ways to create a webhook in the Particle Cloud but the easiest is to use a JSON configuration file and the Particle CLI.
The format of the configuration file is very simple as seen in the following template:
{
    "eventName": "[EVENT_NAME]",
    "url": "https://api.twilio.com/2010-04-01/Accounts/[ACCOUNT_SID]/Messages",
    "requestType": "POST",
    "auth": {
        "username": "[ACCOUNT_SID]",
        "password": "[AUTH_TOKEN]"
    },
    "form": {
        "From" : "[TWILIO_NUMBER]",
        "To" : "[TO_NUMBER]",
        "Body" : "{{PARTICLE_EVENT_VALUE}}",
        "MediaUrl" : "[OPTIONAL_IMAGE_PATH]"
    },
    "mydevices": true
}
All you have to do is replace the bracketed items with the following:
EVENT_NAME - The event name from the first argument to Particle.publish() call. In our case "server_room_too_hot".
ACCOUNT_SID - Your Twilio Account SID that you copied from the Twilio Console. Remember to insert it in both places.
AUTH_TOKEN - Your Twilio auth token copied from the Twilio Console.
TWILIO_NUMBER - Your fancy new Twilio phone number you created in Step 2.
TO_NUMBER - The number you want the text sent to.
OPTIONAL_IMAGE_PATH - This can be a public URL to an image (jpg or png) that Twilio will insert as media into your text message. It is optional and the entire line can be removed if you don't wish to use it.
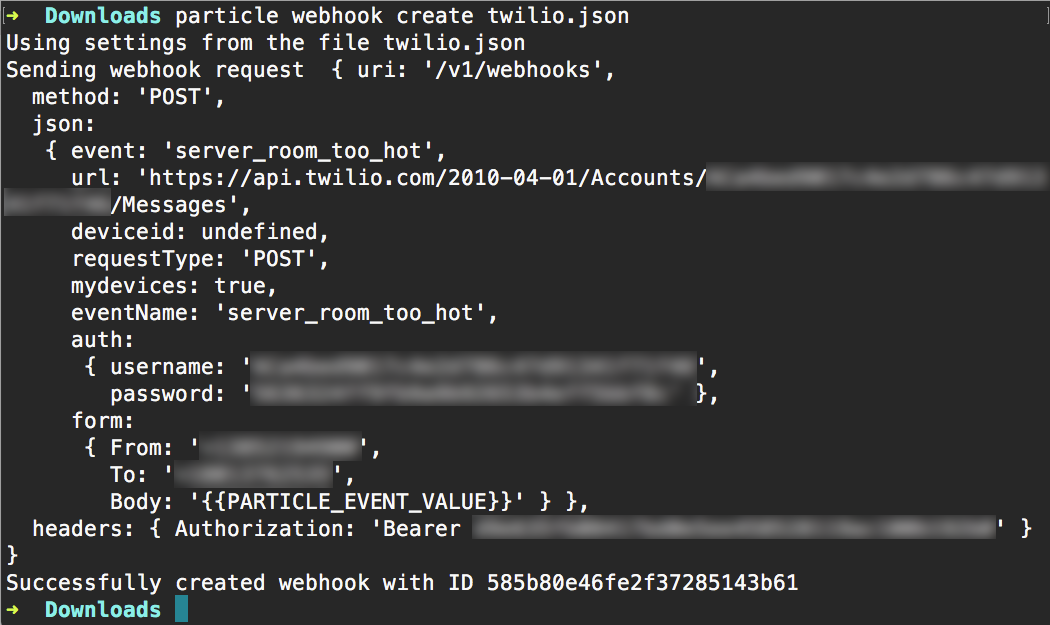
Save the JSON file somewhere on your machine with the name twilio.json. If you don't have the CLI installed follow the instructions here. Finally, from a command prompt create the webhook by running the following command:
particle webhook create twilio.json
Step 4: Marvel at Your IoT Skills
That's it! Now when you power on your Particle Photon it will continuously calculate the temperature and text you if it ever gets above 82 degrees Fahrenheit. An easy way to test this is to use a hairdryer to blast the sensor with hot air. It should only take a few seconds to raise the sensor's temperature above 82 degrees. Alternatively, if you're hot blooded you can pinch the sensor between two fingers although I found I could only get it into the high 70s that way.
Step 5: Take It To The Next Level
If you've followed along with this project and created your own temperature monitoring device you will have noticed it has a slightly annoying behavior. After the initial warning text you will continue to get a text every 3 seconds until the temperature is below 82 degrees. Maybe that's how you like it but that could be a bit too much. As with any IoT starter project there are lots of room for improvement and learning by making it more robust and feature-rich. Here are a few ideas if you want to continue learning.
- Only alert once when the temperature goes above 82 and then again when it falls back into the normal range.
- Learn about Particle.subscribe() and figure out how to remotely configure the alert temperature threshold to something other than 82 degrees.
- Use Particle.variable() to expose your temperature value to the cloud.
- Have the device text it's name instead of it's ID. Here's a hint to get you started.
Kevin Sidwar
Published
Thu 22 December 2016
Comments
comments powered by Disqus